
Microsoft Azure SQL
Requirements
Version 2016 SP2, 2017, 2019
SQL Server Management Studio 18
Depending on whether a new HAKOM database is to be created or an existing one is to be updated, the sections New installation and Update must be selected. The new installation deals with the basic new installation of a HAKOM DB. The update describes the updating of an existing HAKOM DB to a higher version. Target versions are 3.8.0 or higher.
Path to install package
All neccessary scripts for SQL Server can be found under the following path: HAKOM TSM Standard_3.9.x.x\_Database Scripts\SQLServer
Preparing Azure SQL
Create New SQL Database Resource
The following steps will show how to create a new Azure SQL database ready to be used with HAKOM TSM on Azure.
Creating a Database Server with a new SQL Database:
- Login to your Azure account via https://portal.azure.com
- Click on Create a resource icon to open the Azure Market Place

- Search for Azure SQL in the Market Place and click on Create when found
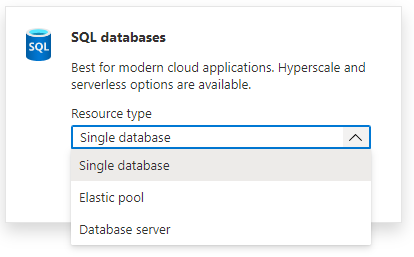
- Depending on your needs either select "Single database" (to install one database in an existing server), "Elastic pool" (to dynamically distribute a fixed server resource among multiple databases) or "Database server" to host multiple databases.
We well select and describe Database server. If you select Single database, continue with step 7. - Select your Subscription, Resource Group or select Create New to add a new Resource Group, fill in your preferred Location, server name and Administrator account credentials
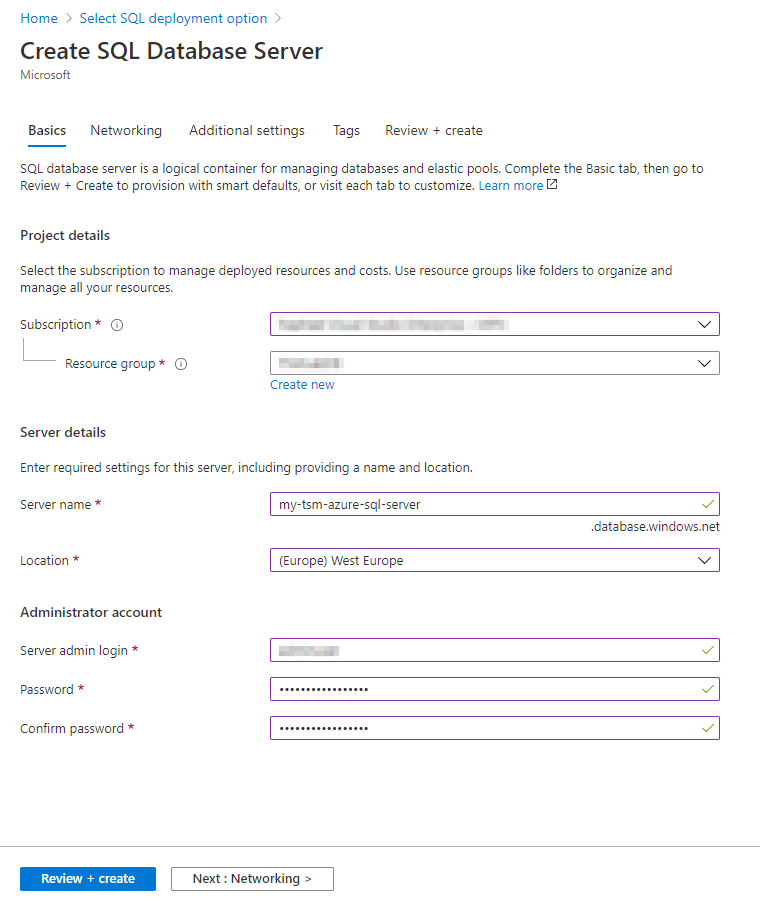
- Click on Review + create than Create buttons to create your new server.
Database server is ready, let's create a database within: - Select your Subscription, Resource Group (will be prefilled with the first resource having a Database Server), enter your Database details, you may also change Compute + storage (we will do it in a separate step)
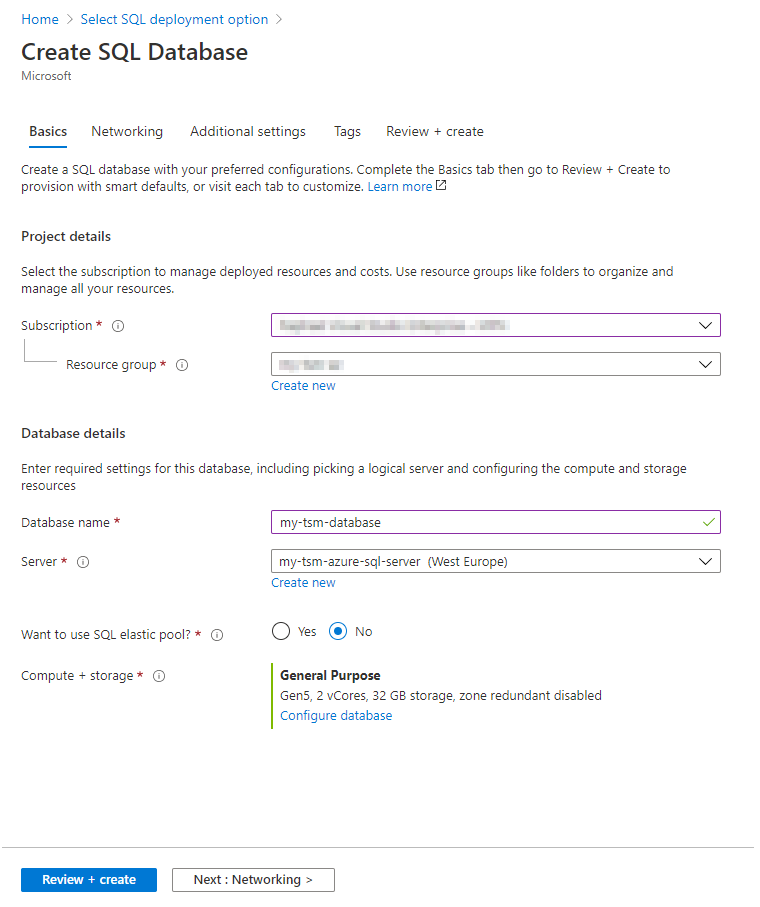
- Click on Review + create than Create buttons to create your new database
In order to access to Azure SQL from your local machine with Microsoft SQL Management Studio 18 or its command line sql tool, you will need to add your IP address to the SQL server firewall.
Unblock your IP in the SQL server firewall
- In Azure (in your Resource Group) select your SQL server
- Click on Show firewall settings
- Add Rule name, Start IP and End IP of your local machine with Microsoft SQL Management Studio 18 or higher and press Save button
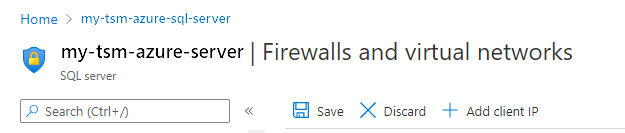
Now you are ready to access the SQL server.
Where Is My Connection String?
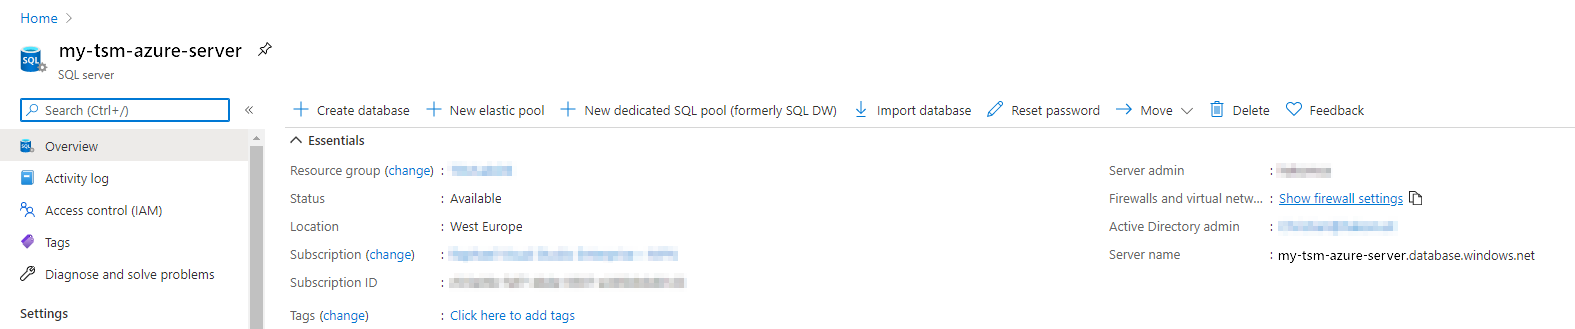
Server name (required for database updates and connecting to Microsoft SQL Management Studio) and connection strings can be accessed via the following steps:
- Open your Resource Group in Azure
- Navigate to the database and click on it

The server name can be taken from tag Server name.
Tip
Note, to connect with the database server you will need to add the standard port (1433) to the server name, separated by a comma. E.g. my-tsm-azure-sql-server.database.windows.net
- To get the connection string for your or any HAKOM application click on Show database connection strings.

Properly Size Your Database and Web App
Azure provides various database and web app service plan types. Below we compare standard Database Transaction Unit (DTU) pricing modell with the performance of a local barebone Microsoft SQL Database combined with a HAKOM WebTSM Service API (also running as Azure Web App vs. local Windows Service).
Azure sizing matrix
The below Azure sizing costs are as per 15.03.2019.
| DTU | S2 (50) | S3 (100) | S3 (100) | S4 (200) | S4 (200) | S6 (400) | |
| App Service Plan | S2 | S2 | P1V2 | P1V2 | P3V2 | P3V2 | |
| DTU Costs | 63,26 | 126,49 | 126,49 | 253,01 | 253,01 | 506,01 | |
| App Service Plan Costs | 75,22 | 75,22 | 125,44 | 125,44 | 501,9 | 501,9 | |
| Total Costs per Month | 138,48 | 201,71 | 251,93 | 378,45 | 754,91 | 1007,91 | |
| Score* | 244,52% | 184,85% | 146,45% | 100,15% | 72,16% | 60,95% | |
*The Score is a result of combined performance measures of write (20% weight), read (50% weight) and aggregation (30% weight) requests for the different Azure pricing models devided by local benchmarks. Hence the lower the score, the better Azure will perform compared to a local installation.
New Installation
Creating a New Database
The creation of the databases must be performed by a database administrator.
Executing the Scripts
- Place the TSM/FW installation package in a local folder.
- Navigate to folder
...\Database Scripts\SQLServer\_specific scripts\ Set following variables accordingly:
TEXT;Insert initial data [true/false] insertData=true ;Add protocol package [true/false] addProtocolPackage=true ;Full server name: serverFullName=hostname,1433 ;ZAMS database name (time series data): dbZAMSName=TSM_DBNAME ;ACL database name (in Azure SQL the same db is used for time series and access control list): dbACLName=TSM_DBNAME ;DB-Login Data dbLoginName=username dbLoginPassword=pwd- Call the batch file at
...\Database Scripts\SQLServer\_specific scripts\CreateDB_initial_3_8_0_to_latest.cmd
Update
Preparation
Checking the current database version of ACL, FW, Protocol and TSM objects. Check the entries of the table DBVERSION. The interpretation of the entries is explained in the following example:
- Table DBVERSION:
| ID | NAME | DESCRIPTION | CREATIONDATE | REVISION | PATCH | MAJOR | MINOR |
|---|---|---|---|---|---|---|---|
| 1 | HAKOM TSM | Initialscript | 01.07.2020 | 0 | 0 | 3 | 8 |
| 2 | HAKOM Framework | - | 01.07.2020 | 4 | 0 | 3 | 8 |
- Interpretation:
Version HAKOM TSM 3.8.0.0
Version HAKOM Framework 3.8.4.0
Manual Check Scripts
Before the update scripts are installed, it is important to check if manual check scripts have to be installed. You can find them under ...\Database Scripts\SQLServer\V3.8.x\V3.8.x.x\_manual check scripts and if necessary, import them into SQL Server Management Studio and follow the instructions as described in the scripts.
Executing the Scripts
- In
...\Database Scripts\SQLServernavigate to next higher version as currently installed. Run the scripts one by one in SQL Server Management Studio.
Correct assignment of the scripts to the according database schemas
ACL DB HAKOM_Acl.sql TSM DB HAKOM_Framework.sql HAKOM_Framework_Index.sql HAKOM_Framework_xxx.sql HAKOM_TSM.sql - In
HAKOM TSM Standard_3.3.8.x\Database Scripts\SQLServernavigate to next higher version as currently installed. - Run the scripts one by one in SQL Server Management Studio.